
Enquire Now
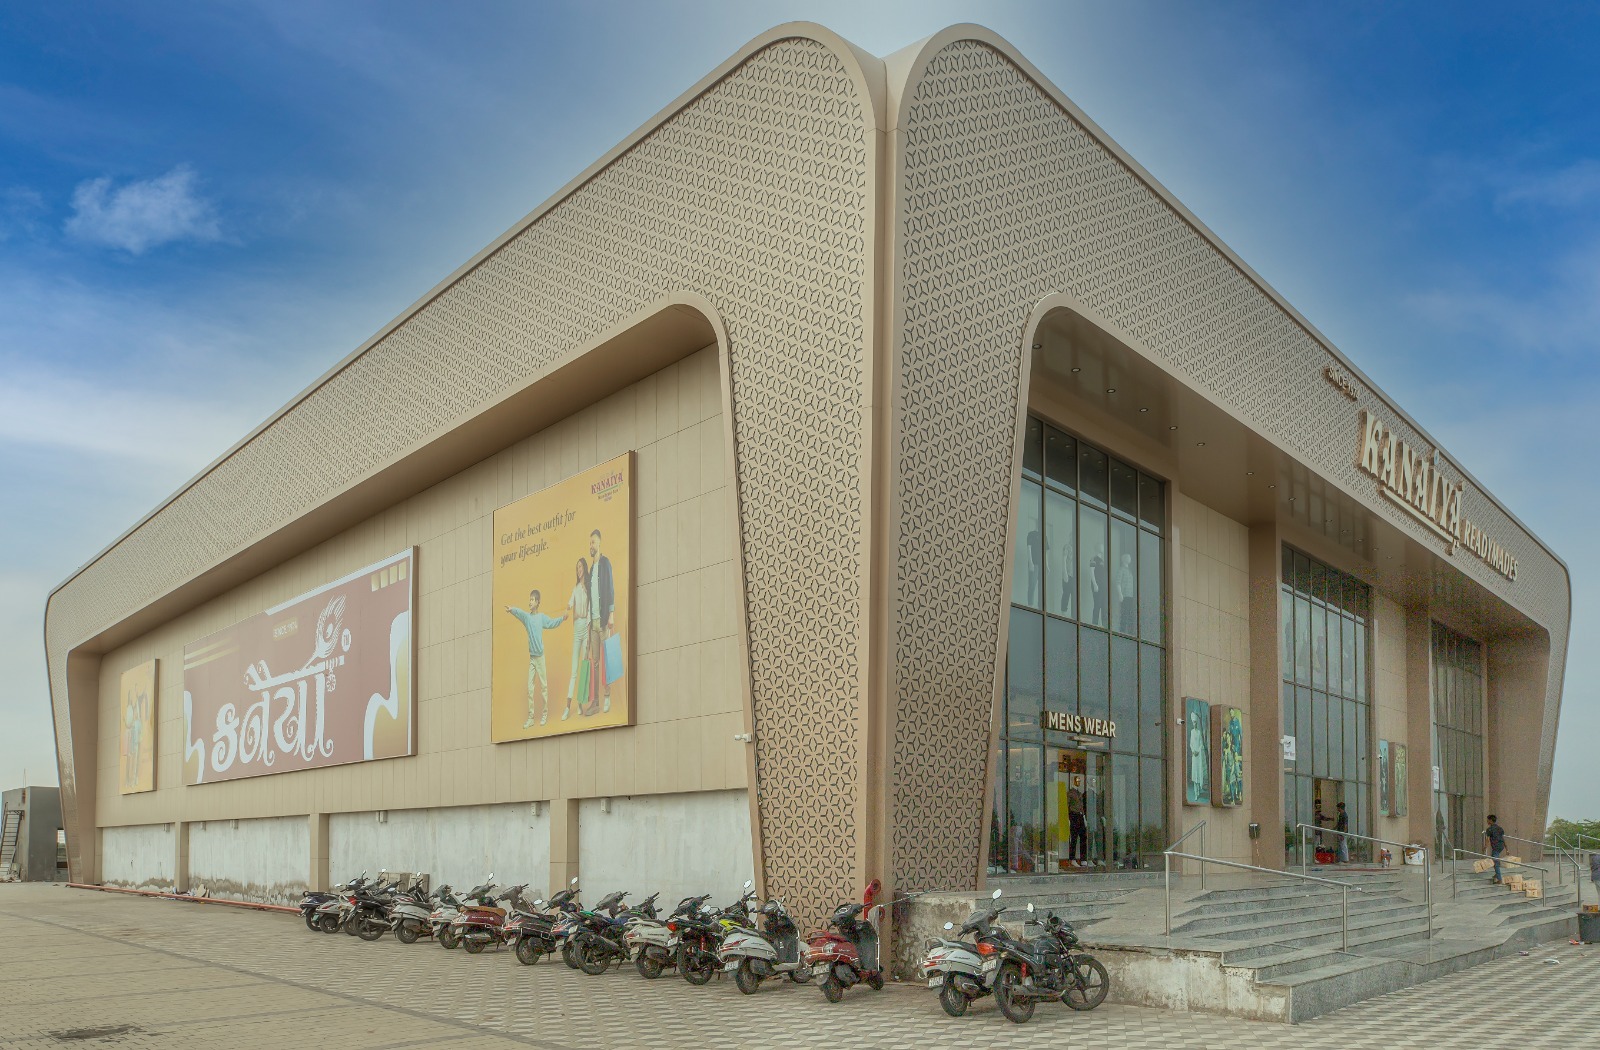
ACP installation involves five steps: 1) Install aluminium/steel substructure framework on the building wall, 2) Route/groove ACP panels using CNC router for bending, 3) Fold panels into tray shapes, 4) Fix folded panels to framework using rivets or concealed clips, 5) Seal joints with weather-grade neutral-cure silicone sealant. Professional installation by experienced fabricators is recommended.
Measure facade dimensions, identify panel layout, calculate wind loads, and design substructure framework. VIVA provides technical assistance for panel layout optimisation.
Install vertical aluminium or galvanised steel brackets on the building wall using expansion anchors. Attach horizontal rails (channels) to brackets at specified panel joint intervals. Ensure framework is plumb, level, and structurally adequate for wind loads.
Using a CNC router or portable router, cut V-grooves on the back of ACP panels for folding. Route along panel edges to create return flanges. Cut panels to exact dimensions. For fire-rated FR A2+ ACCP, specialised routing tools are required.
Fold routed panels into tray shapes using a panel bender. Fix trays to framework using stainless steel rivets (exposed fixing) or aluminium concealed clips (concealed fixing). Maintain 10-12mm gaps between panels for sealant joints and thermal expansion.
Apply neutral-cure silicone sealant (compatible with PVDF coating) in panel joints. Use backer rod behind sealant for proper joint depth. Clean panel surfaces with approved cleaning solution. Remove protective film after installation is complete.
Contact VIVA's technical team for expert guidance on ACP selection.
 en
en
 Spanish
 Arabic
 Swahili
 French